Date: July 23-25, 2022
Park : K-3473 Martial Cottle Park State Recreation Area
Unfortunately, it took another year before I was able to attempt another POTA activation! I had certainly been hunting in the meantime, but I still wanted to work towards more activations. Unfortunately, there aren’t a ton of state parks nearby, and only 2 within the county. One that is in the county, is luckily very close to the QTH.
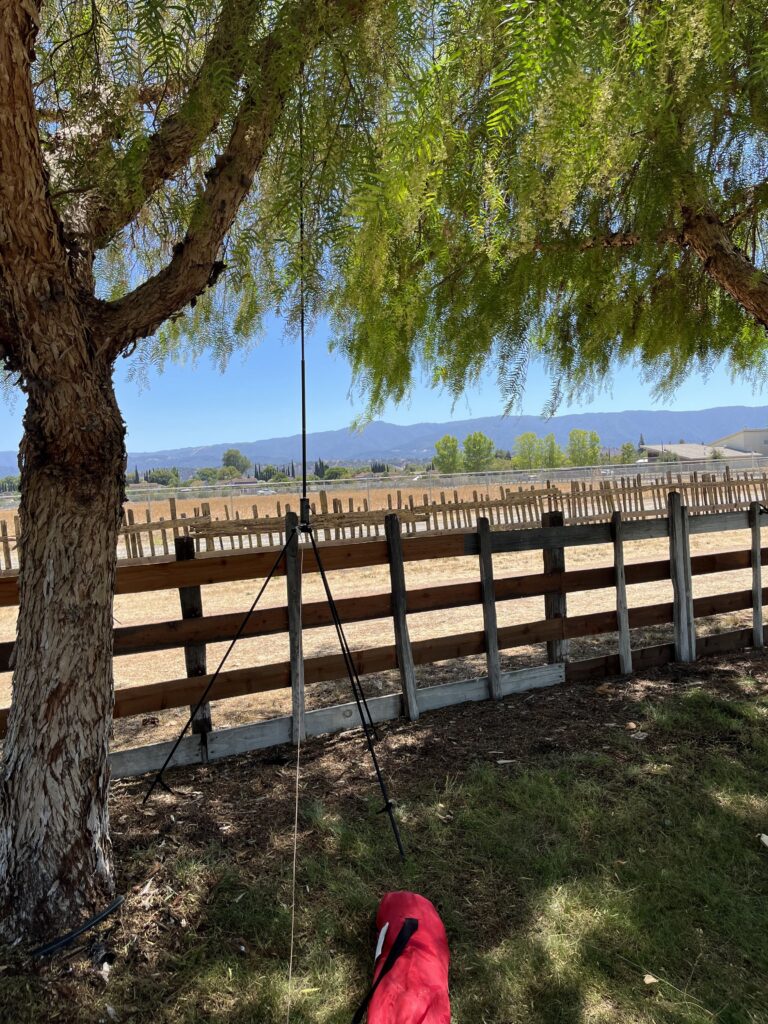
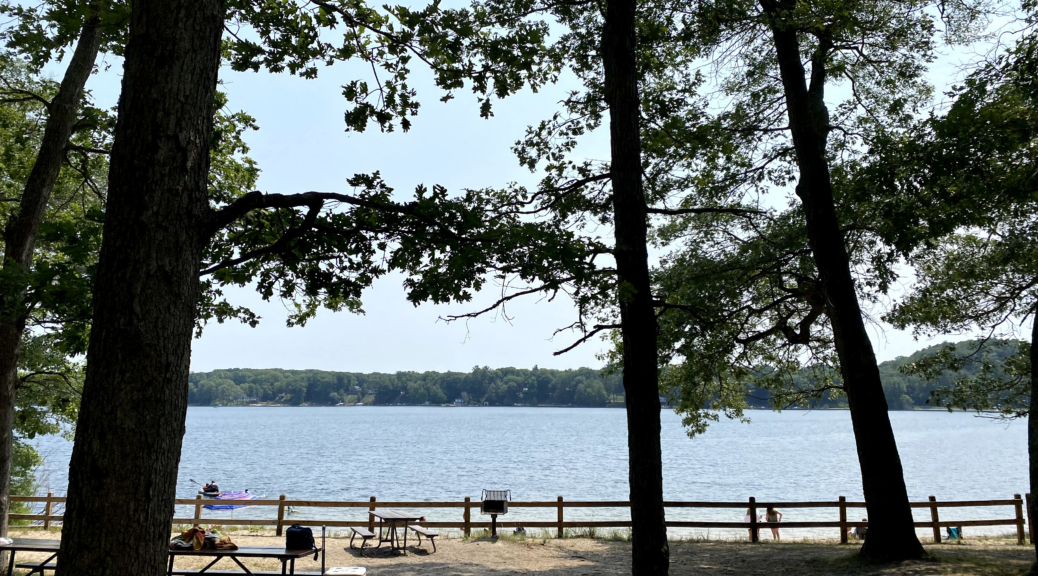
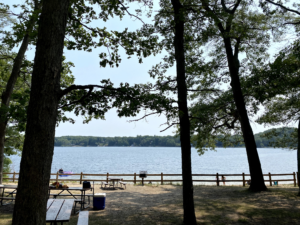
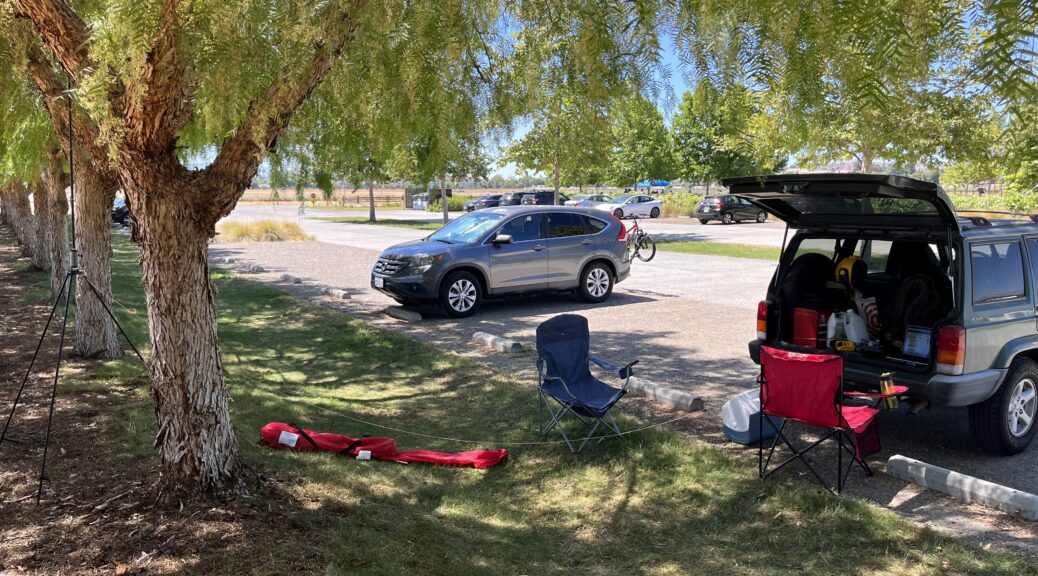
By most standards, I’d consider Martial Cottle Park to be a relatively young park. There are a fair amount deed restrictions from when the land was given to the state, and they haven’t fully realized all the plans for the park. As such, the park is quite nice, but there isn’t much shade around the park benches (besides the reserved areas). They’ve planted trees, which will provide shade someday… just not yet.
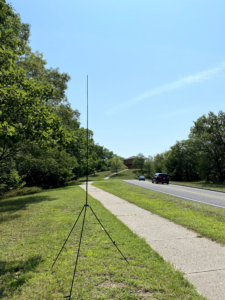
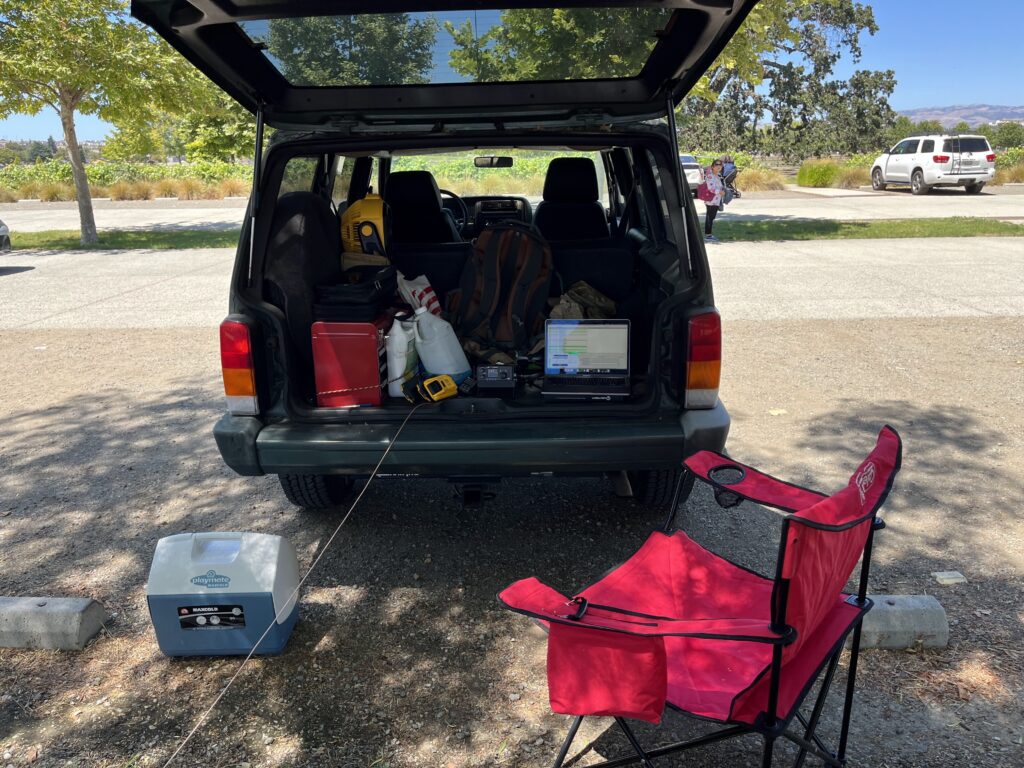
I decided to be a bit creative and find what shade I COULD find, which was in the parking area. There was a fence that I used to help hold the counterpoise up, which made it convenient. Unfortunately, this did mean that the antenna ended up being in the trees a bit. I decided it was a necessary compromise.
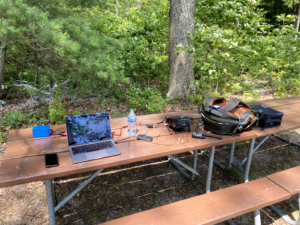
My Gear for this adventure :
Radio : Xiegu G90
Audio Interface: DigiRig Mobile
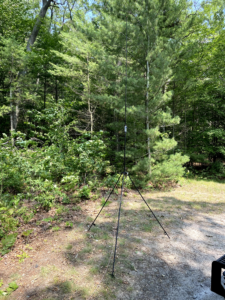
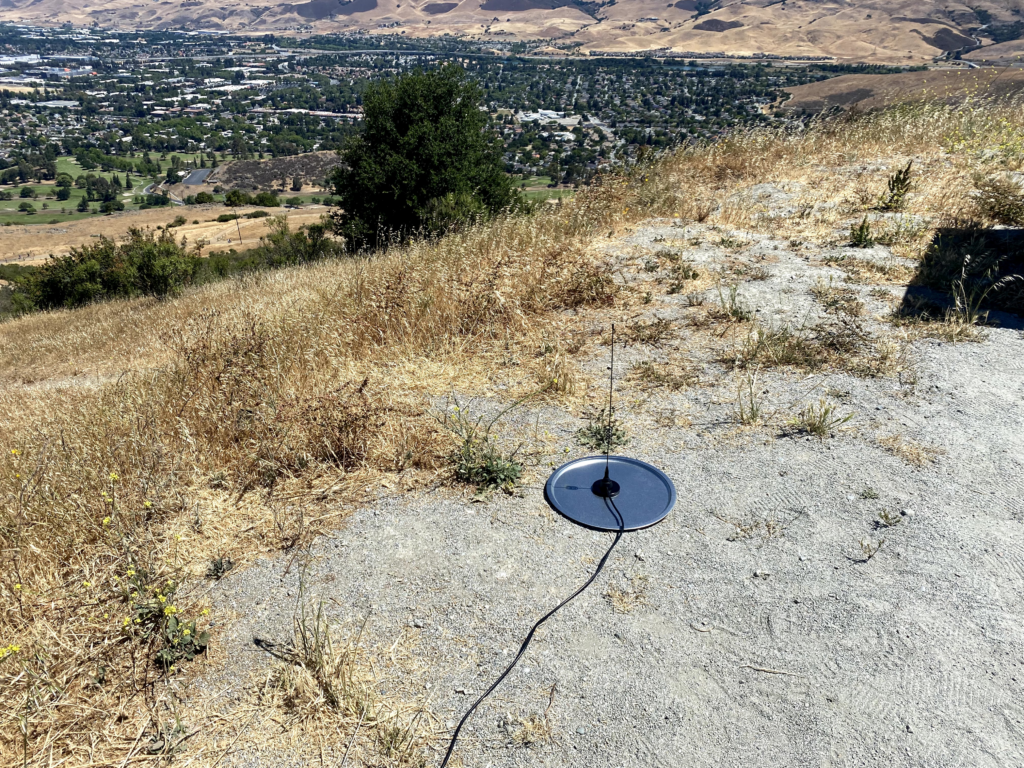
Antenna : Buddistick Pro
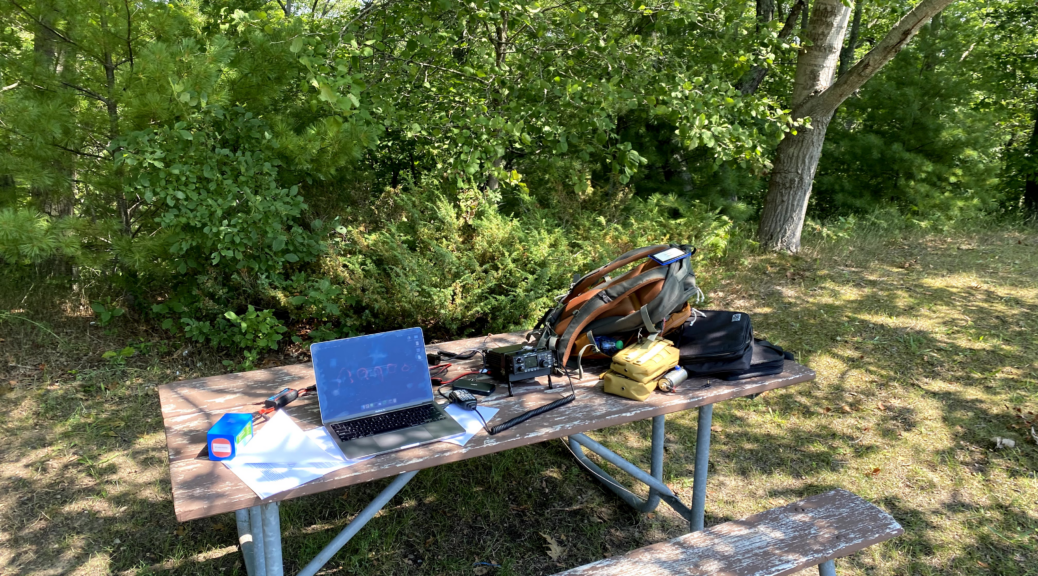
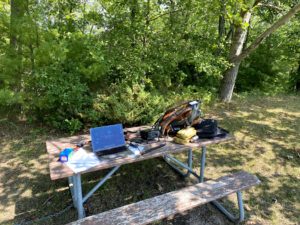
I had plenty of shade, and there was a nice breeze, making it a pretty comfortable location. The chair and station setup wasn’t all that comfortable, but certainly serviceable.
July 23rd (UTC) – Showed up in the afternoon, and scouted the park to setup. It took a little bit to figure out how I wanted to set things up, but was able to get the activation with relative ease. It did take a couple hours, as I had to remember the best way to setup the Buddistick Pro. I spent most of my time on 20m, with a short attempt at 40m. I was struggling to get 40m to tune right, and just stuck to 20m. I hadn’t budgeted my laptop battery well, and had to stop earlier than expected.
July 24th (UTC) – Arrived in the early afternoon again, and was able to activate again on 20m FT8. I planned my battery usage better AND decided to try to do a Late Shift Activation as well. Once I had activated, I closed up the laptop to save battery for the Late Shift. While I was killing some time, I tried to figure out my 40m issue. I realized I had assembled the Buddistick Pro incorrectly, which I blame on it being a year since I last used it!?
July 25th (UTC) Time for the Late shift! Unfortunately, there was just a lot of QRM on 20m and 40m. Even after budgeting my battery, the 6Amh Bioenno battery for the radio ended up not lasting to get the activation. I decided to turn on the car and charge the battery for a bit. Sadly, it was quickly approaching park closing and QRM was just getting worse. The Late Shift Activation was busted, but I decided to come back the next morning to finish the activation.
Overall, it was fun to get out and do some activating again. It was clearly needed, since I had not remembered the proper way to setup the antenna. I’m not sure when I’ll get back there, but I expect to have many more activations in due time.